Monday, December 2, 2013

Prima Dolls...Gift Bag and Card

Hey there peeps!

You know you're out of it when you post the same thing you've already posted on your blog! Good grief, I need a vacation! Instead, I am down with a nasty cold...but wanted to post this:


I made this tag and showed it on videos earlier.  Check the right hand panel and you will see a link to my channel on You Tube.  So I placed the tag on top of a brown paper bag, made handles from seam binding and ink distressed the edges.


Here's what it looks like on the back.  The papers match the front of the tag.


Here's the card.  As you can see, the paper matches the bag.  I didn't use another Prima doll image, but used the same embellies that were on the tag (except the chef hat - I don't think I could make another one).


So here's what I will be sending a friend  - part of her Christmas package.  We did a swap together and she made me some really nice things so I want to send her something nice in return.  Thanks for looking y'all!

Happy Crafting!
~Terry


Tuesday, November 19, 2013

Pringles Can...another one

Hey y'all,

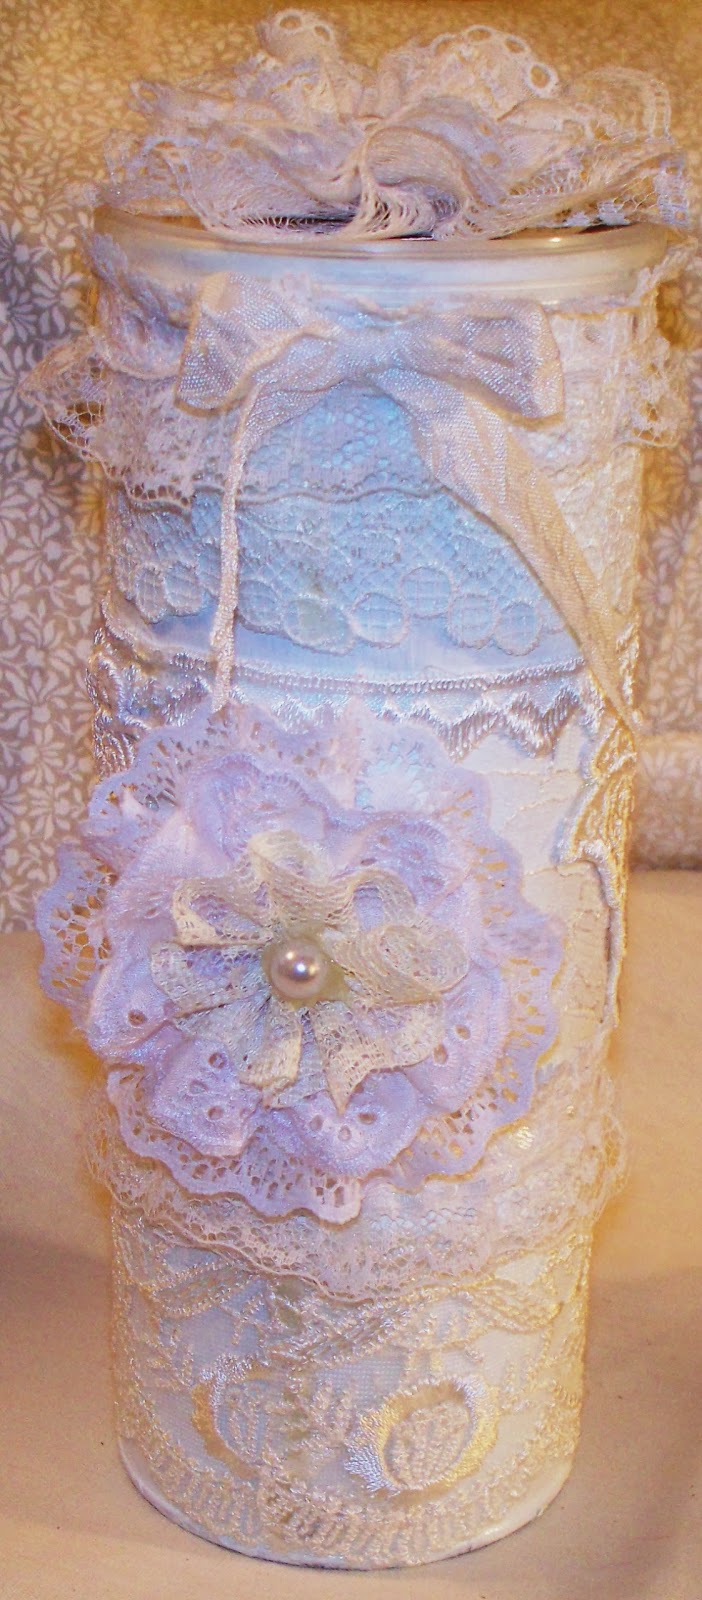
I can't remember if I posted one I altered before or not (and I'm too lazy to get out of draft mode to go check) but I altered a bunch of cute Pringles' cans.  The chips are yummy and the canister made a great gift idea.  So with the holidays coming up, I made another one.

The other side looks the same.  Here's the top - a handmade shabby chic flower that I made:

I used this pretty lace on the bottom and another with butterflies on top of it and a smaller circle (just used a gathering stitch) on top with a pearl center.

Here's one other size -- yep, more chips...heehehe - not the tall one but in between the small one (above) and the tall one...yummy...
I love the lace and the flowers are just beautiful! 
  
Don't you love that butterfly applique?

Here's one of my shabby chic flowers - eyelet lace in the middle and a different eyelet lace on top; all gathered in that simple stitch to make the circle.
  
Another of my shabby chic flowers - with different types of lace, it's easy to make a cute little flower.  I followed Tricia's tutorial on YouTube.  Just search for: alittleshabbychic - she's awesome! :-)
Thanks for stopping by!  Happy Crafting! :~)


Saturday, November 2, 2013

Guest Designer at Little Blue Button Stamps

Hey peeps!

Guess what? I'm the guest designer at Little Blue Button stamps this week! Yay!  Here are the projects I made (and the details):

Birthday card
Products used: White Cardstock (Wal-mart's Georgia Pacific), Tim Holtz's Distress Ink (Tea Dye), Ranger Stickles (Waterfall, Diamond, and Gold), Copics (E00, E02, B02, B04, and B14), Stampin' Up's chalk (Rose), Stampin' Up! Window Punch, Scotch ATG (glue)
From my stash: DCWV Striped Designer Paper, Blue Card Stock, Blue Seam Binding
Image: Ms. Lilly Fairy (Little Blue Button Stamps)
Technique: Ink distressed the edges of the sentiment


Project #2: Altered Journal
Products used: Journal (Mary Englebert - Michael's), DCWV Heritage Heirloom stack, Scotch ATG (glue), Martha Stewart's flat flace, Copics (E00, E15, E17, G05, G07, RV21, RV23, R24, R27)
From my stash: Lace, letters
Image: Sally (Little Blue Button Stamps)"

Hope you like these little lovelies.  So make sure you visit Little Blue Button stamps' store and blog - they have some great digi's and rubbah...

Thanks for stopping by and Happy Crafting! :-)

Wednesday, October 16, 2013

Halloween Treat Bags

Hey peeps!

Okay, I forgot to post the treat bags that I did for Art & Sassy along with the Halloween cards.  We had to make two bags of specified dimensions and add a few embellishments as the treats.  Here's what I made:

I made three bags (one for the hostess).  I used regular lunch bags and sized them according to the specifics of the swap.  I used K&Company die cuts from last year.  This is the front (made a flap with velcro for the closure).


 This is the back side, which had to be decorated as well.

I used my Martha Stewart punch to make the bats to hide the brads on the inside that held the flaps.

I used my Martha Stewart spider punch to make these to hide the brads.

On the third bag, I did a mixture of the punches to hide these brads.

  
If you zoom in, you'll see one package of the goodies that each bag will hold.  The ones on the right are the actual "treats" (unpackaged).

I also made a library pocket card for the hostess to say thanks for organizing the swap.

I can't wait to get these back and will post what others in the swap have made so stay tuned.

Happy crafting! :~)

Thursday, September 26, 2013

Halloween Card Swap

Hey peeps!

What's crack-a-lackin'? Hehehehe  Okay, that's my bit of slang for the year... So here's what I've been doing at a place called Art & Sassy:


This is a match book kind of card with the scored lines at the top to angle the card and a flap at the bottom to hold the larger flap in.


This is the inside of the card - you can see the bottom flap better.  The frog came with the other dies from K&Company.


This is a pocket card I made inspired from a card on Splitcoast Stampers.


There's an insert (you can write on the back) - I used Martha Stewart's border punch (a gift from Ms. Dee of Dee's Special Things). 


This card was made using the tutorial from Splitcoast Stampers.  It's a side-step card.


When you open it, you're greeted by the ghouls...boo!


Here's the card I made for the hostess (and added a little goody-goody).  The pocket came from a fellow blogger some years back and the card is card stock so that you can write a message on the back.


Thanks for stopping by!

Happy crafting! :-)

Friday, September 13, 2013

Hey y'all,

Here's another Friday and I'm off today so this is a GOOD day! Hope you're having a fantastic Friday as well!  I joined a challenge at Creating the Crafty Life where we had to follow a color challenge:


There were seven of us and the three that posted already actually used the sunflower in their project; how cool is that?


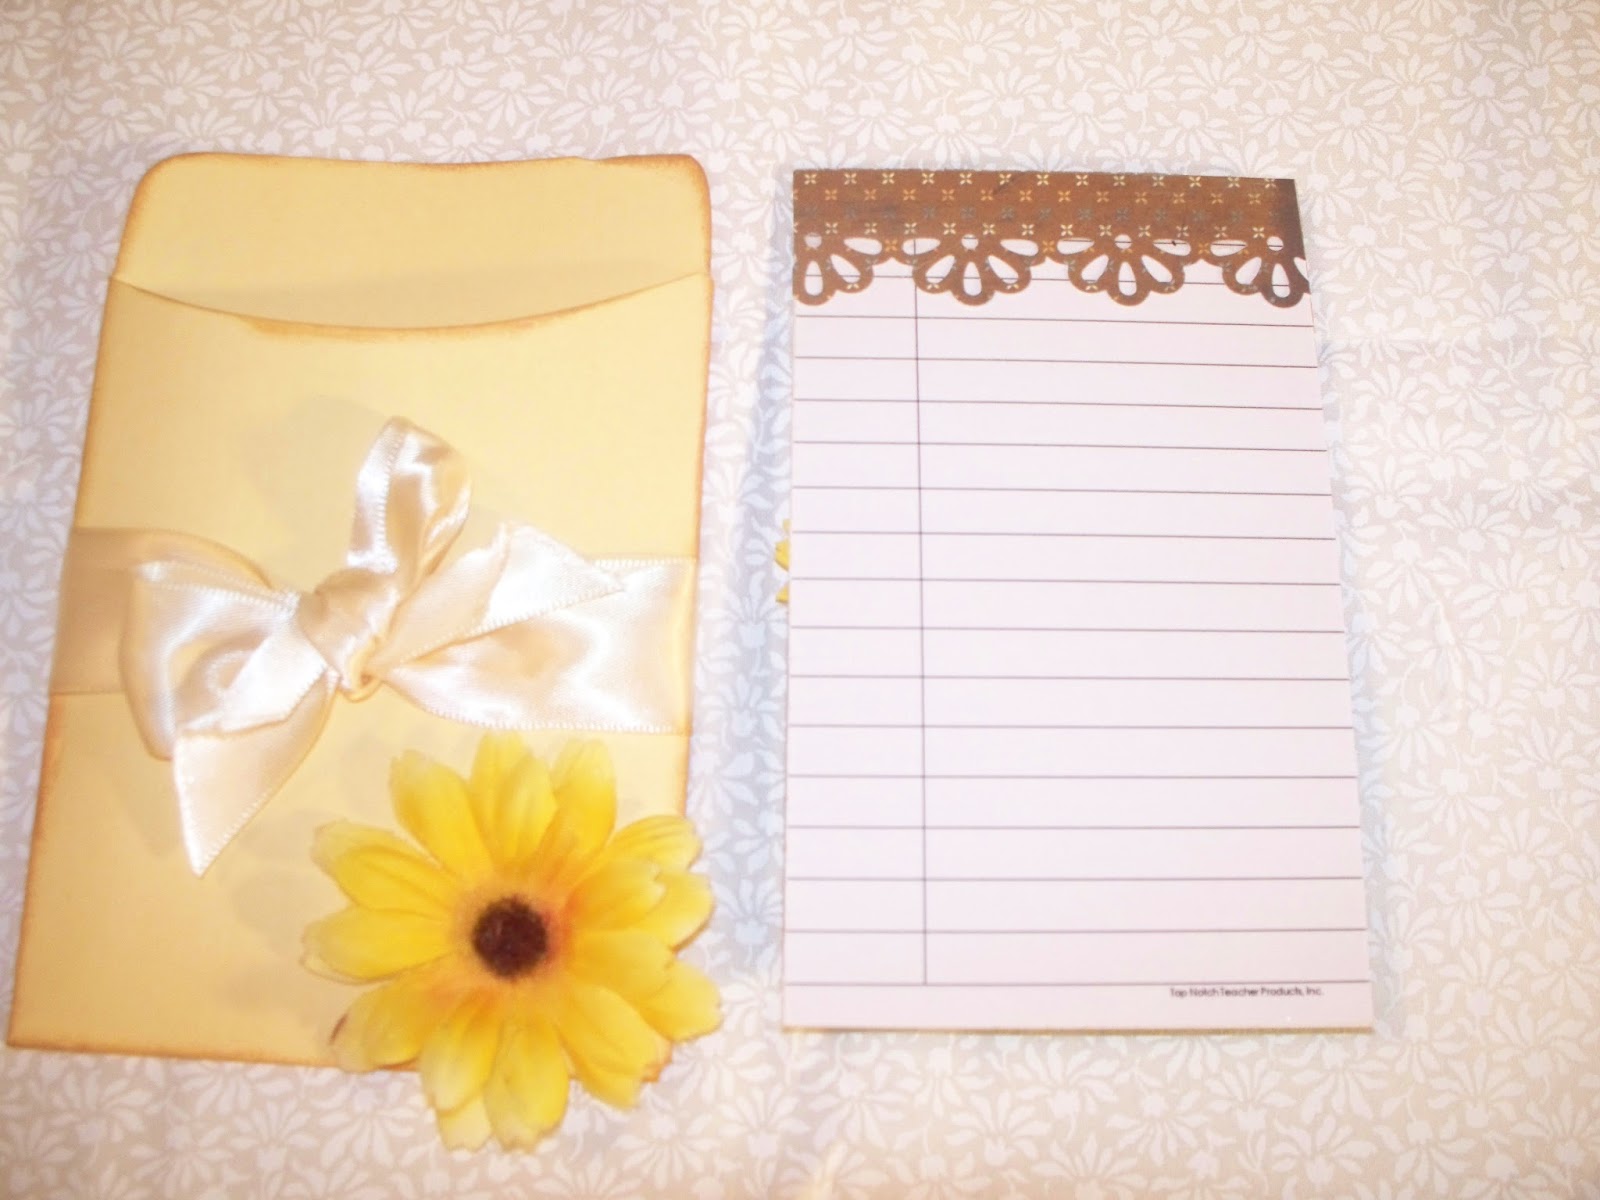
This is a library pocket card.  I simply added a bow to the outside of the pocket.  I took a flower apart and added a second layer to give it the look of a sunflower.  The thing is, my center needed to be larger, but it's okay - I'm still with the color scheme.


The library card was covered with designer paper, sunflower embellishment from Recollections, grass I ade my cutting strips and curling them downward.  I added a scalloped oval and sentiment.


Here's the back of the library card.  I made a topper to to hide the info.  Even with the lines, it's a nice card; something you can do with the library card and pocket besides using in a mini.

Thanks for stopping by and taking a look.

Happy crafting! :~)


Friday, September 6, 2013

Another Swap

Hey y'all,

I keep saying that I won't swap anymore but find myself compelled to join these fun swaps at different NING sites that I am a member of.  Wait until you see my Halloween stuff - but for now, look at the vintage tickets I made for the swap at Mini Album Swaps (MAS):


 I found this image and background paper (already stained music sheet) online (free vintage images).  I added liquid pearls, some gems for "fire" and stringed beads for the elegant chains on a chandelier.


 I made a tussie mussie to go with the corset (another find on the internet - same place), added the pink bow, flowers and pearls that those things usually had.  The purse is a charm from my stash.  I ink distressed the edges but the stains on the paper were already there with the image.


 Paris is a distinct destination, so I love creating around that theme.  I made the passport and added a bit of lace for the vintage look and placed a charm Eiffel Tower to give it that more pronounced look.  The image I found on the internet was the Eiffel Tower with the lady - how cool is that?


 This bicycle was too cute to not take up.  I added a burlap bag I quickly glued together, added mail from clip art on MS Office and it becomes something great for the swap since the bike itself is vintage.


 Look at this chair! I added the bird cage, an organza bow, some lace and pearls to the background and image that was already there.  How fun is this?


 This one was a little hard to create around but glasses, a newspaper, a charm compass and it seems like something for a man, right? Don't you love his umbrella?  Heehehe...

This image just needed a little pearl beads, a ribbon, a flower and a bit of lace and she screams vintage.  Don't you love it?

Thanks for stopping by!

Happy Crafting! :-)