Wednesday, July 31, 2013

Paper Bag Stuff

Hi y'all,

I thought paper bags were great for mini albums...well, guess what - they have some other uses besides stuffing your lunch in them:

I took the paper bag and folded it. I had to make hinges so that the pockets would have a little space in them because I was going to add some things to it.

I love the way the purple one came out.  The colors are so vibrant.  I added a white flower, inked it up, added some bling and a charm.  The sentiment is from K&Company: "Happy Birthday"...so you can imagine you can decorate it anyway you like.  Inside the front pocket is the card.


 So you see the card, a tag and a dress form die that forms some of the decoration.  But there is room to add crafty goodies to it.

The green one is really cute.  I didn't create this idea; someone else on UTube did and I neglected to jot down the person's name.  But you could do a search and her video is bound to come up to show you how to make this.


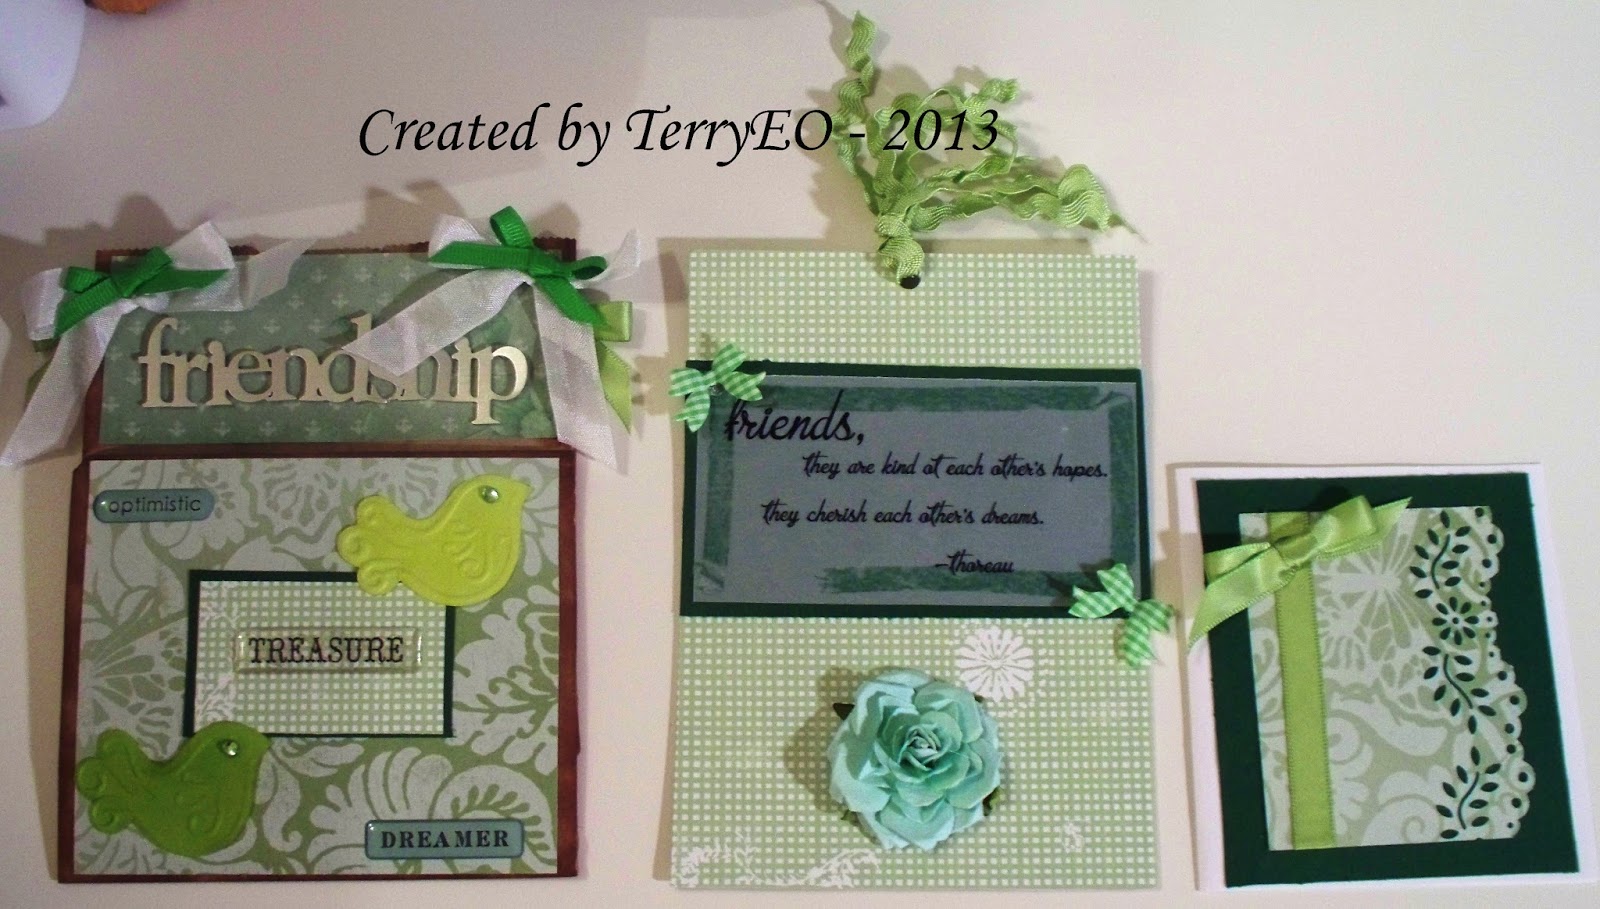
 I added a tag and card to all the bags.
 
I tried to coordinate the embellishments with the papers.  This paper is DCWV Linen stack (one of my favs).

These will make great cards to send to friends and add a little RAK "just because...."

Thanks for watching and Happy Crafting! :-)

Thursday, July 25, 2013

Hobbies...

Hey there!

So, I have a lot of things that I do (like trying to do this post before I go to work)...and when MAS (Mini Album Scraps) had a swap for altered tickets where the theme was hobbies, I couldn't resist.  Here's what I made:


You had to have at least three embellishments on each tag.  I printed my own paper, inked the edges.  For "reading", I added a book inspired by Jennings644 (Fiona), some bling and made a pair of reading glasses because without them, I can't see the words to read.  The rose was to keep it "cute."


I love to sew.  So I bundled up some fabric and tied a bow around it, added a spool of thread and there's some measuring tape by the flower.


I did the same for this - notice the words now read whatever this hobby is: Sewing.


The glasses were easy to make - not perfect circles, but you can tell they are glasses (from the right angle).


I love to crochet so I added a little flower I bought from WOC.  This ticket was made by my good friend, Ali Dantre.  She's so crafty...I'm going to send her a RAK...to welcome her back. :-)

 And this is the last one - you had to make five - I kept one for myself.  Aren't the small barns of yarn cute?  I tried to make a crochet hook but couldn't.  One day I'll figure it out. :-)

Thanks for looking - Happy Crafting! :-)


Sunday, July 14, 2013

The small things...

Hey y'all,

I've been on UTube and seeing all of the things people create just makes me want to try some things.  I had at one point wanted to do miniature people and bought the clay and the mold but it didn't work out so I tossed the bucket of clay.  Well...after watching a number of videos, I managed to do better.  Here's what I did:


I watched My Froggy Stuff to make the stove, Jennings644 to make the hutches and cabinets and Garden of Imagination (and others) for the food.


I forget where I got the chips, magazines, flour, detergent and cereal...but this was fun! :-)

Happy Crafting! :~)

Sunday, July 7, 2013

Clipboard Swap at MAS

Hey y'all,

I know - it's been awhile (again)...but I've been doing a lot of things.  You can always check my UTube channel to see what I've been up to.  But for now, here's a swap I followed along (but didn't join) at Mini Album Scraps - Clipboard Tags.


The requirements were to make an 8x4 tag using chip board and decorative paper.  On it, you had to have a die cut, a handmade flower; make three more tags (a variety of sizes), an envelope and a dangle.  There had to be something to "clip"; hence the word "clipboard" tag.


I just added simple embellishments to make the tag more decorative.  The bird is a chipboard embellishment from Michael's $1.50 bin (I miss the dollar days).  This boot is from a clip art gallery from a publishing company.


This tag has the handmade flower that I sprayed with a Dylusions spray.  On each clip,  the dangle rests.  I used the same spray for the chipboard key at the top of the clipboard.


This die cut is an image from the same publisher, just adhered to chipboard and sitting atop foam dots to raise it.  The clock in the upper left corner was crackle accented and if you could zoom in, you'll see it worked this time - looks gorgeous!

This was a fun swap.  The postage is a bit tiring for me so I've elected to do 1:1 swaps with others.  I'll show you one I recently completed on the next post; using the first set of Prima dolls.

Thanks for taking a look - Happy Crafting! :-)